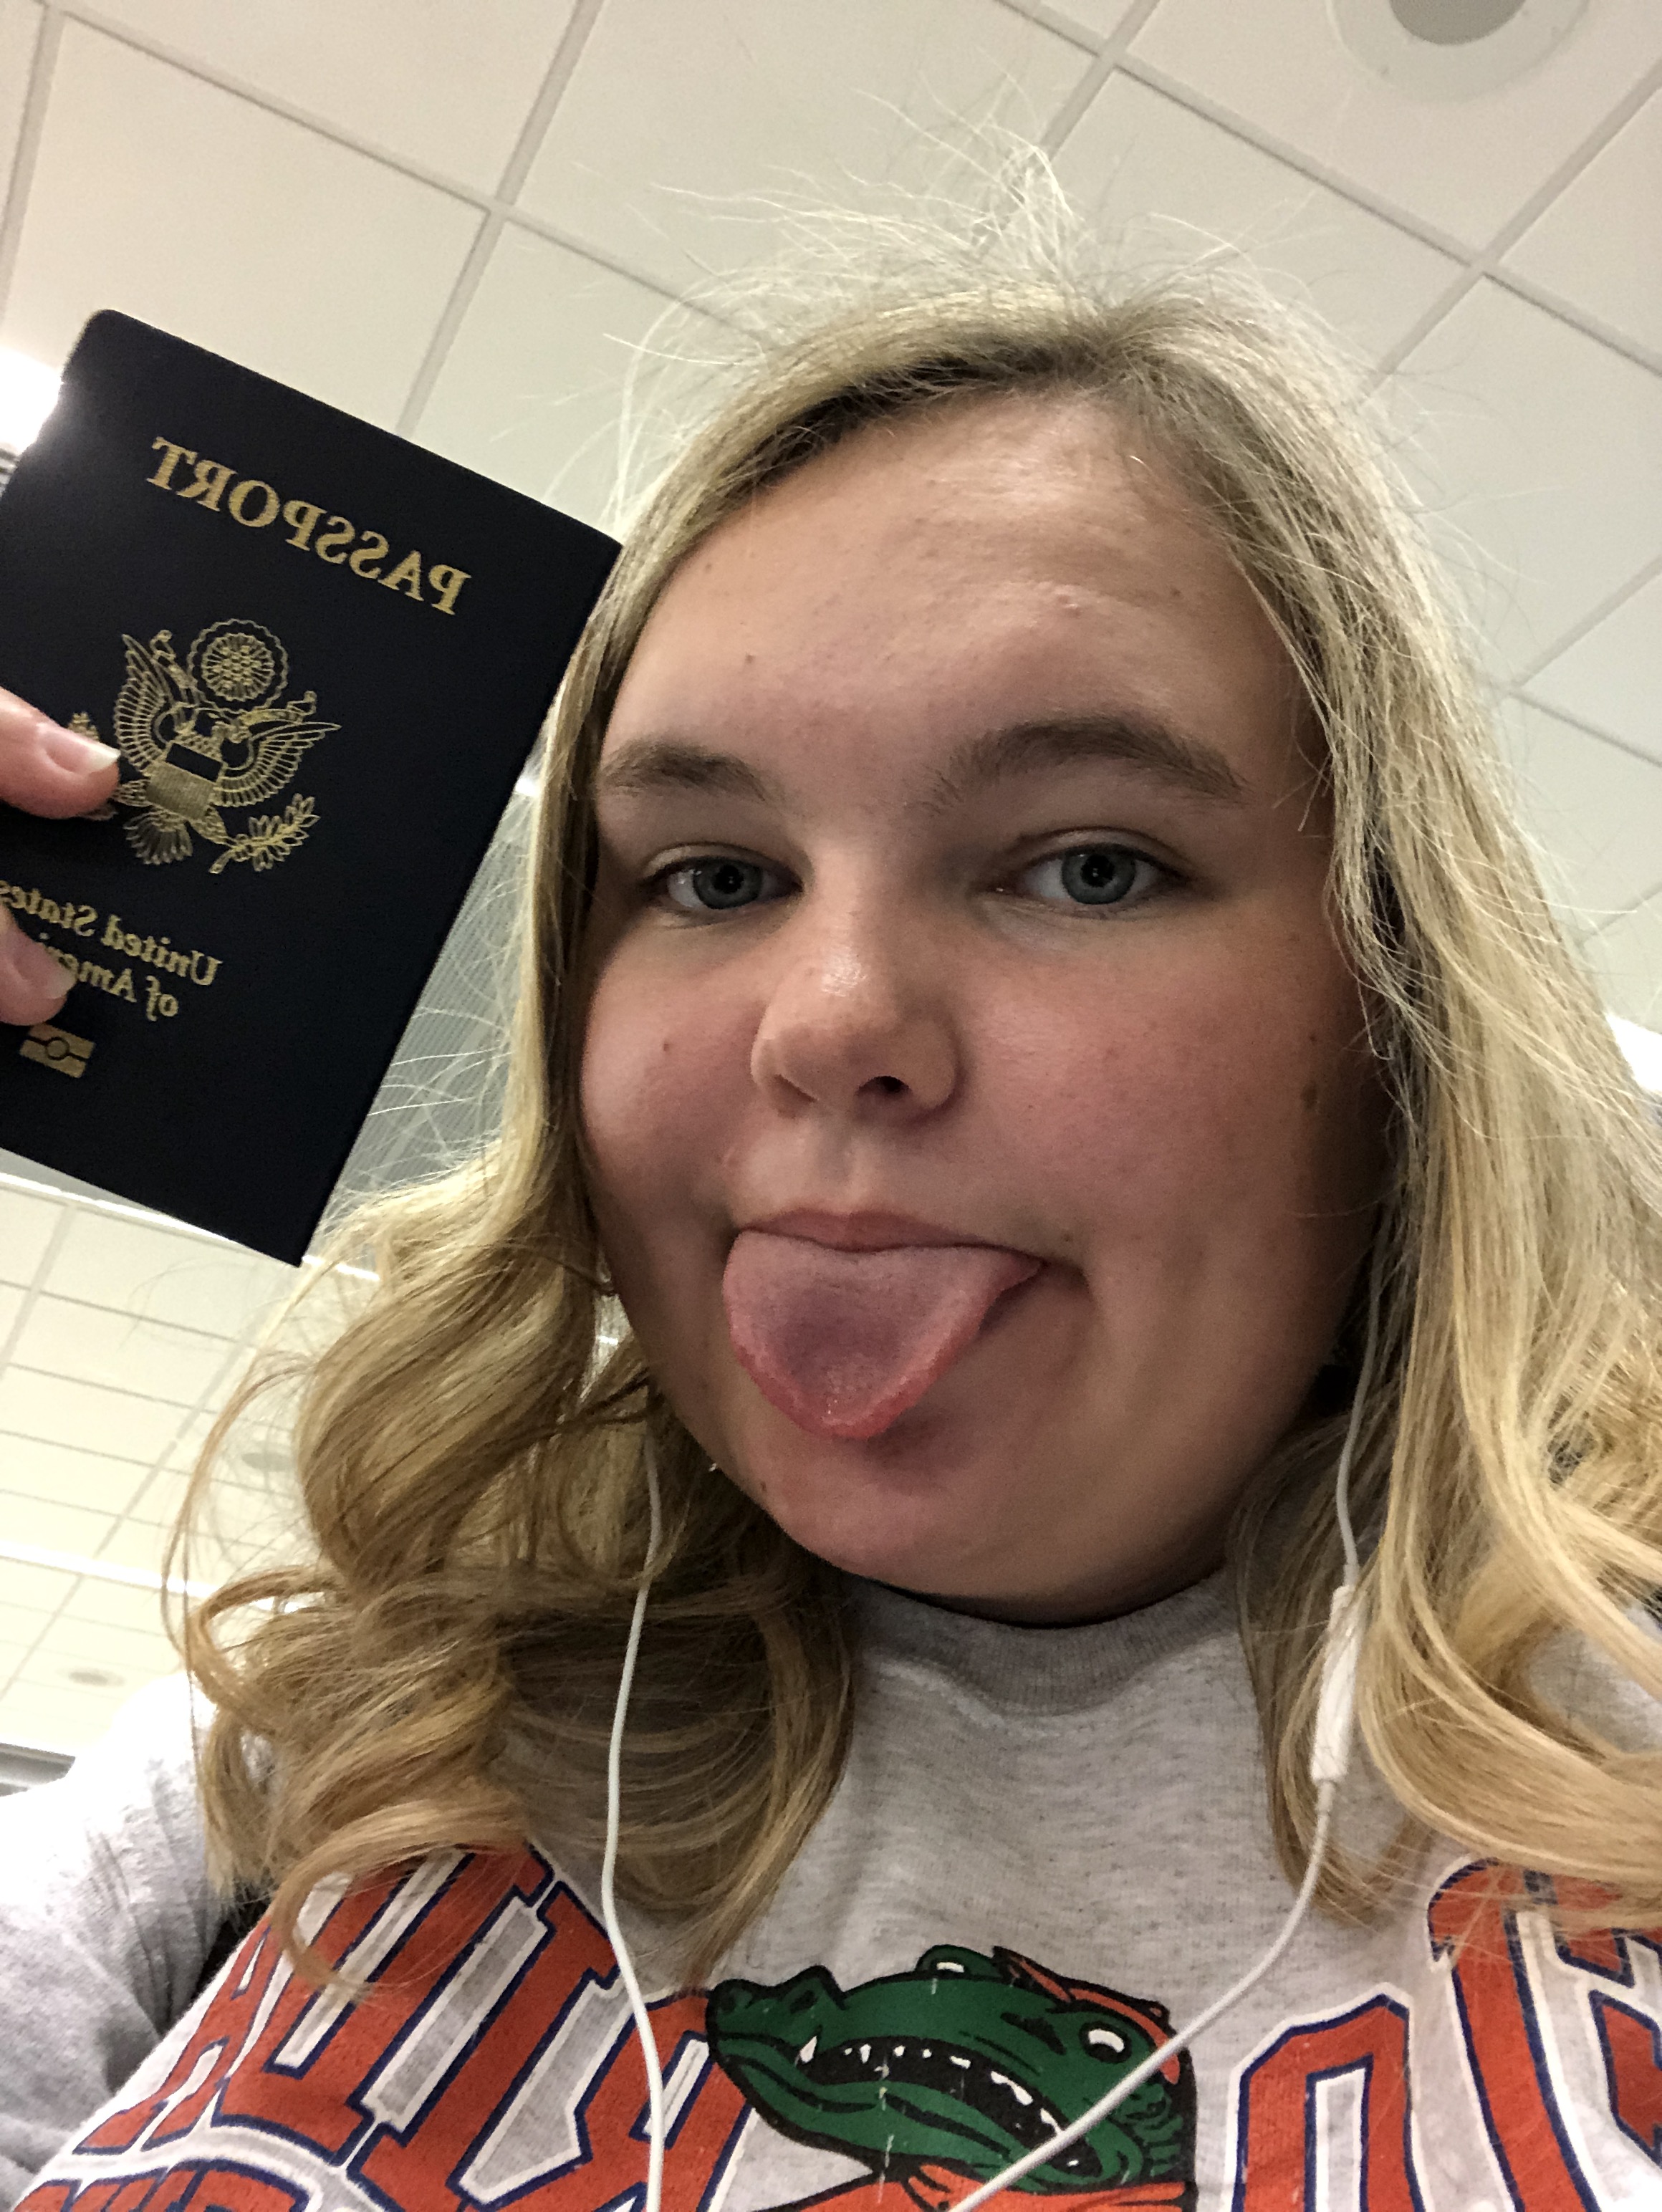
When I was 15 years old, in 2014, I began flying from Miami, Florida to Austin, Texas. I was going to visit my grandmother who had just moved there that past February, to live closer to my uncle.
In November, when my family decided they wanted to spend Thanksgiving in Austin, I asked if I could fly a few days early since my high school had the whole week off. The plan was simple, I’d fly there alone and my uncle would pick me up from the airport. I would return, after thanksgiving, with my family.
And so began my solo traveling adventures.
I’m now 20 years old and constantly finding myself alone at the airport. When I was younger, it took a little bit of confidence and preparedness to make me feel comfortable getting through the mess that is Miami International Airport, but with a little calming of nerves and some focus, you’ll be on the plane in now time. For the purposes of keeping this simple, we’re flying domestic.
Step One: Pre-Airport
24 hrs before departure check into your flight. Download the app of the airline you are flying on and check in on your phone. Easy as cake! Once you have your boarding pass, make sure you have quick access of it using a digital wallet. Also, keep your confirmation code handy. This will be necessary early on at the airport.
The first couple of times I flew alone I brought only a carry on suitcase. Checking a bag? Give it an extra 20-30 minutes at the airport for any crazy bag drop line and prepare to pay $30 for a domestic flight on American Airlines. Make sure all your liquids are 3.4 OZ and are in clear plastic bags.
Delta Airlines says that for a domestic flight you should arrive at the airport two hours prior to departure. Personally, I would arrive about an hour and a half before, maybe an hour forty. You will have plenty of time. Uber or have mom drop you off.
Step Two: Pre-Boarding
Get dropped off in front of your airline. Make sure you got this right and if you walk inside and you’re unsure, ASK!! Just ask. Don’t suffer walking miles aimlessly. Just ask.
Find the check in kiosks and pull out your nifty confirmation code! It’s the key to unlocking your boarding pass from these contraptions. Then go through all the mandated federal questions and get your printed boarding pass! Take a close look and let me let you in on a little secret/myth of mine.
If you are under 18 and fly alone, you’ll most likely get TSA Pre-Check no matter what. In 2016 I got Global Entry which automatically gives you TSA Pre-Check, so I’ve always had it, but when I was 15-16 flying alone I ALWAYS got it. Miraculously//
Walk over to security and *hopefully* through the pre check line. If not, no worries, you’ll just have to take off your shoes.
Now, this is the part where it might be a little complicated if you’re under 15 or you didn’t go to the DMV on your birthday; You need a photo ID. If you don’t have a government issues photo ID (a passport, a permit, a driver’s license, etc.), take a school ID. You might be asked a few more questions, but you should be all good.
Afterwards, head to the unloading area. Take off your shoes, jacket, take your laptop out of your bag and your liquids and head through the rest of TSA.
Step 3: Boarding
Now that you’ve made it through security, it’s time to find your gate! Use your boarding pass and the signs at the airport to walk around and enjoy your time. My routine was to head to the local Hudson News and get a magazine, a water bottle (for the flight), a snack (for the flight), and gum. If you’re wondering I always bought Seventeen magazine. Or Teen Vogue.
Make sure you are at your gate at time of boarding. Wait for your boarding number to be called and Viola! You are on your way to your final destination. Congrats!!
Traveling alone now for me is a bit of a relaxation period. It’s a significant amount of time by myself where I can get work done, listen to music, and people watch. So enjoy the new free and safe travels!
 20 and Abroad